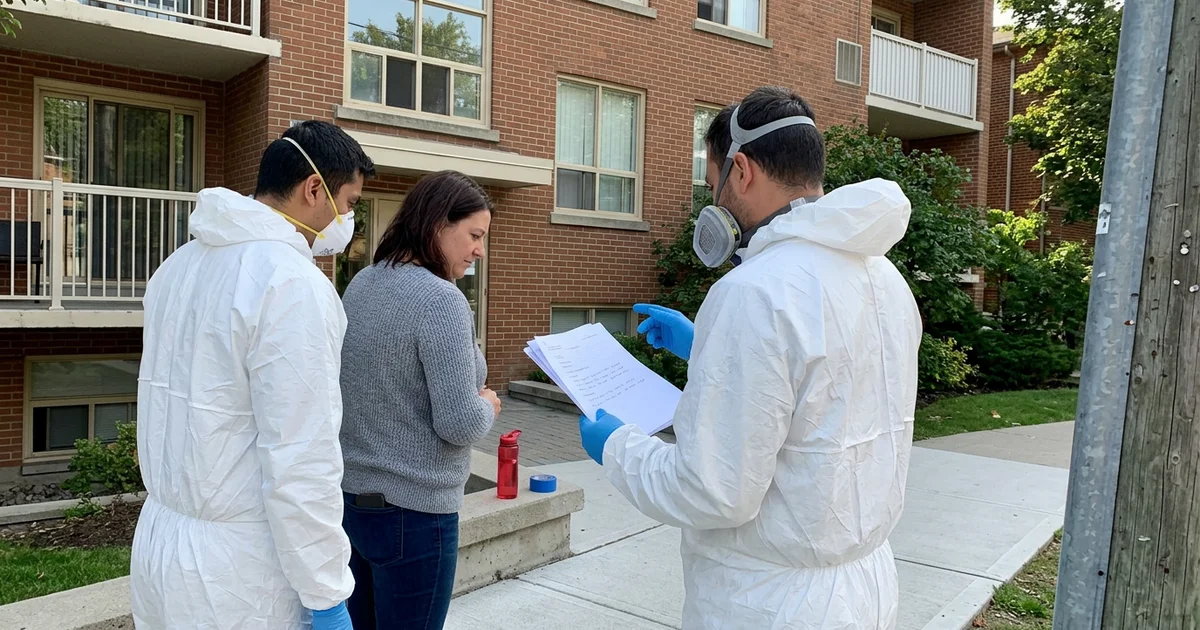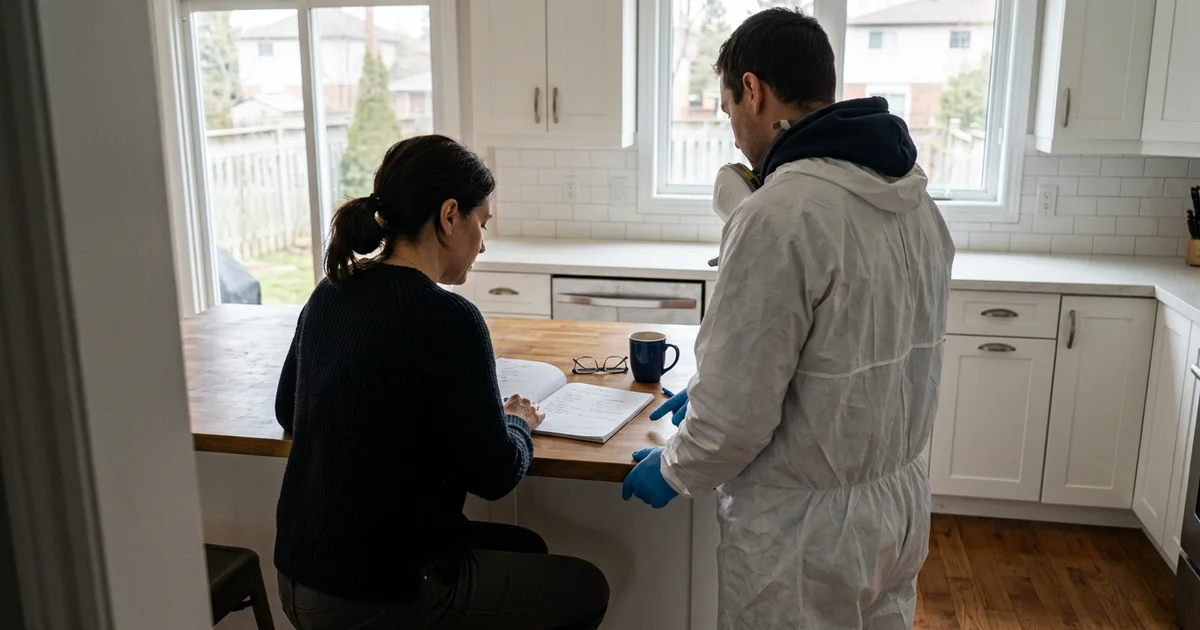
Families often want to try clearing a hoarded home themselves first. Sometimes that works, especially when the home is at a lower level and the person who lives there is involved. Sometimes it is not safe. This post sets out a safety-first approach for families, and the clear signs that it is time to stop and call a crew. Whatever you decide, keep the person who lives there at the centre of every decision.
Step 1: Check for Hazards Before You Start
Walk through the home first without moving anything. Look and smell for:
- Mouse droppings, nesting or dead pests
- Mold on walls, boxes or furniture
- Human or animal waste
- Rotting food in quantity
- Needles, sharps or drug paraphernalia
- Water damage, soft floors or sagging ceilings
- Blocked exits, stairs or furnace areas
If you find any of these, stop. These are signs that the job needs professional protection and disposal. Our guide on hoarding cleanup vs junk removal explains what proper handling involves.
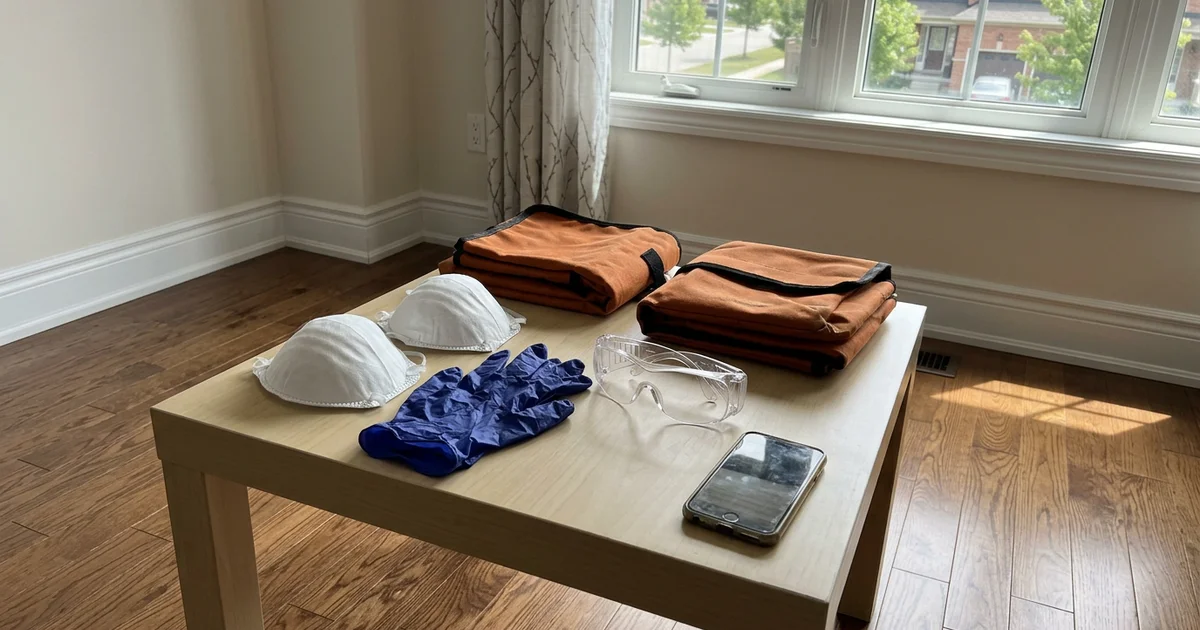
Step 2: Get the Right Gear
| Item | Why |
|---|---|
| N95 respirator (minimum) | Dust, mold spores and particles |
| Nitrile gloves, plus work gloves on top | Protects skin and from sharp edges |
| Safety glasses | Dust and splashes |
| Long sleeves, long pants, sturdy boots | Cuts, scrapes and dropped items |
| Heavy-duty contractor bags | Regular bags tear |
| First aid kit | Cuts are common |
Never sweep droppings
Dried mouse droppings can carry hantavirus. Spray them with disinfectant, wait, then wipe up with paper towels while wearing gloves and a respirator.
Step 3: Clear in the Right Order
- Exits and hallways. Make sure everyone can get in and out safely.
- Around the furnace, water heater and electrical panel. Reduce fire risk.
- Kitchen. Remove spoiled food, clear the stove, make it usable.
- Bathroom. Make the toilet, sink and tub usable.
- Bedroom. A clear path to the bed and a safe place to sleep.
- Everything else. Living areas, spare rooms, basement and garage.
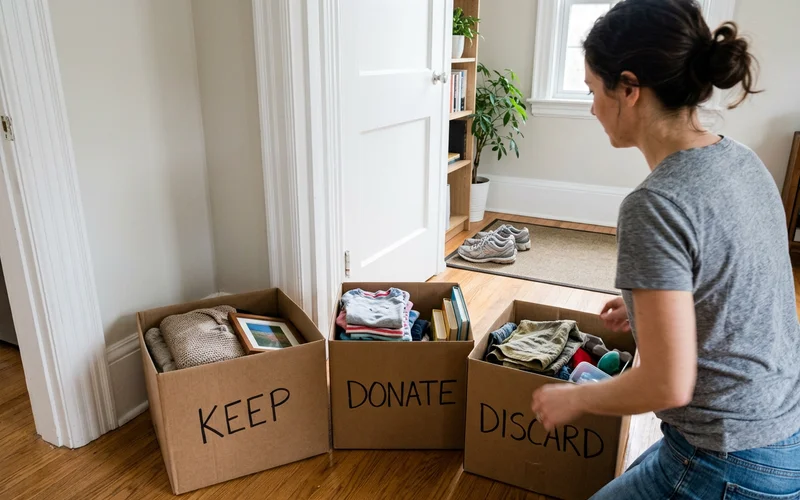
Set up keep, donate and discard areas, plus a “not sure” box. Work in short sessions with the resident, and never bag items without looking through them first. Documents, cash, jewellery and photos hide in surprising places.
Step 4: Respect the Person
Ask before removing anything. Use the resident’s words for their belongings. Take breaks often. If the person becomes distressed, stop for the day. A home cleared against someone’s will is likely to refill, and the relationship may not recover easily.
Step 5: Clean and Disinfect
Once a room is clear, clean hard surfaces with soap and water, then disinfect. Ventilate well. Do not mix cleaning products, especially bleach with ammonia-based cleaners. Porous items that are stained, wet or smell bad are usually not worth saving.
When to Stop and Call a Crew
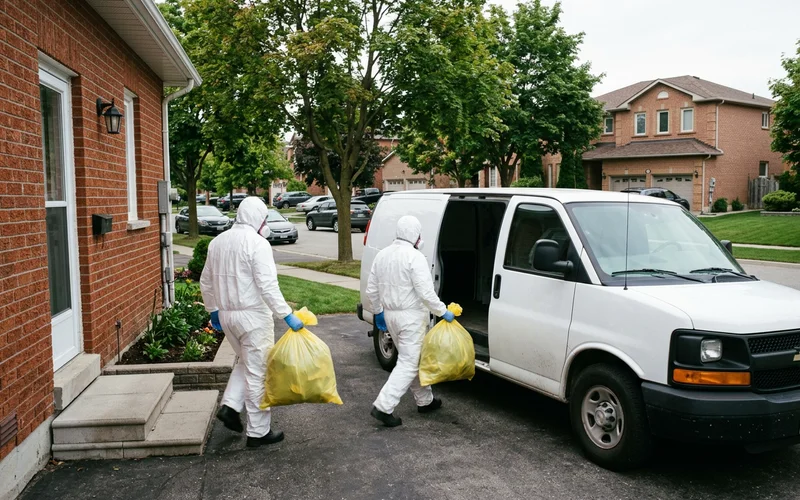
Call for professional help if you find any of the hazards in Step 1, if the home is level 3 or higher, if there is a deadline such as a Property Standards Order or a hospital discharge, or if family members are getting hurt or exhausted. There is no shame in it. Professional hoarding cleanup crews have the PPE, containment and disposal licences that families do not, and they can usually do in days what would take a family months.
Our guide on what to expect during a hoarding cleanup walks through how a professional job runs, day by day.
Ready for help? See how a whole-house hoarding cleanup works, with unmarked vans, a written scope and zero judgment.